The first step to growing a tree is to collect some tree seeds.
There are many tree species to try and grow - some are much easier than others. As a foundation species (any species that has a large contribution towards creating and maintaining habitats that support other species), oak trees are a good species to try first, so the instructions will begin with this type of tree.
There are many tree species to try and grow - some are much easier than others. As a foundation species (any species that has a large contribution towards creating and maintaining habitats that support other species), oak trees are a good species to try first, so the instructions will begin with this type of tree.
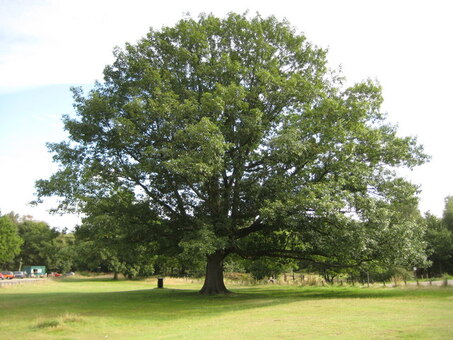
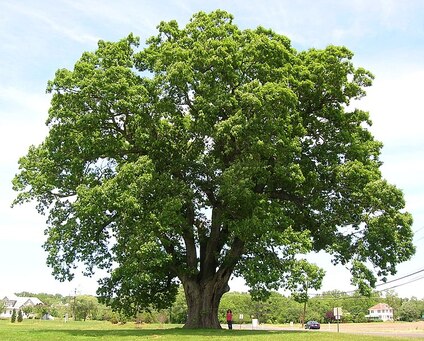
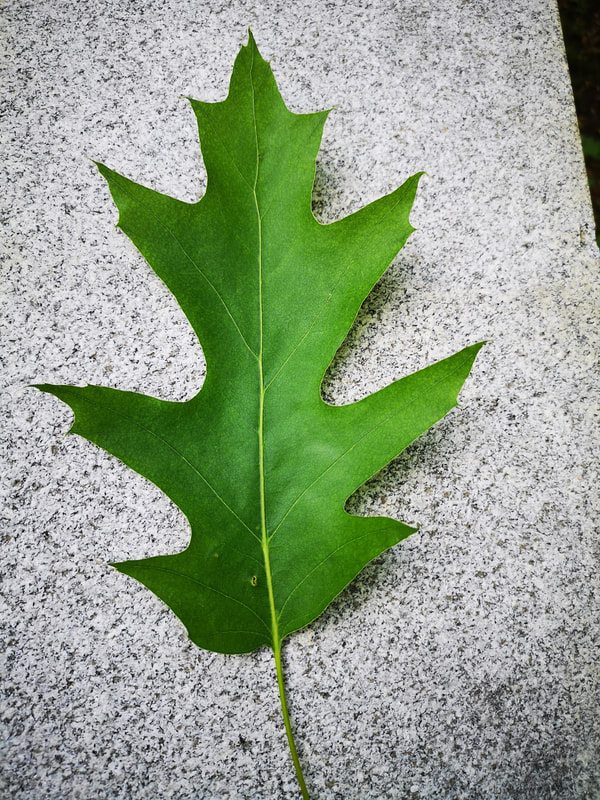
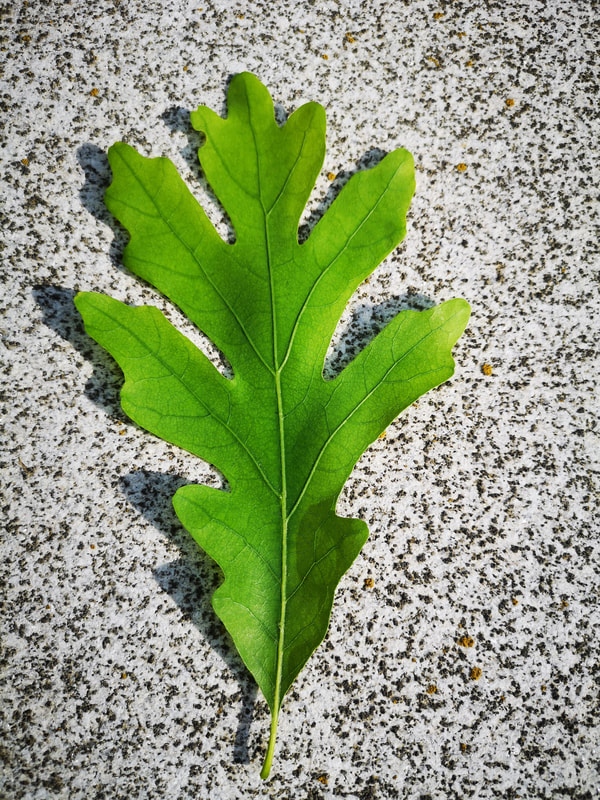
Seeds to Saplings focuses on instructions for growing the northern red oak (if you are an older student, your teacher may encourage you to use the latin name: Quercus rubra). It looks similar to another species of oak called white oak (Quercus alba). Both of these are trees that naturally live in southeastern Canada and the northeast of the United States. If you want, you can collect seeds from both of these types of trees - as long as you know which one is which!
These trees only produce acorns in the autumn, usually from mid-September to early October. Many oaks do not drop large numbers of acorns every year; sometimes, it can be several years before a large “bumper-crop” of high-quality acorns will fall (this is called a “mast year”). So you must realize that some years are better than others for collecting acorns. Hopefully, when you go out to collect, you will find them fairly easily!
But wait! What if it is a non-mast year for northern red oak, white oak, AND sugar maple? There are other Ontario native trees you can grow easily. Click here to download a list of these alternative trees with pictures and growing resources.
Step 1: Identify an Oak Tree
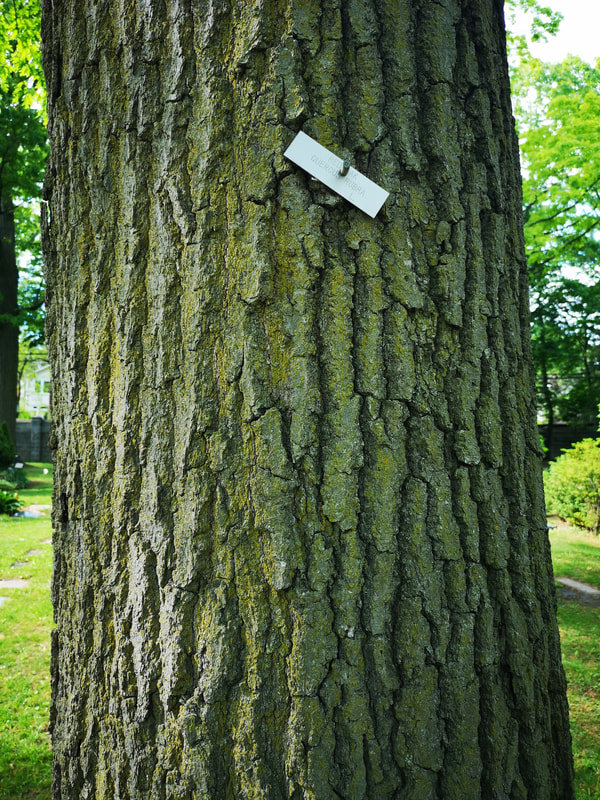
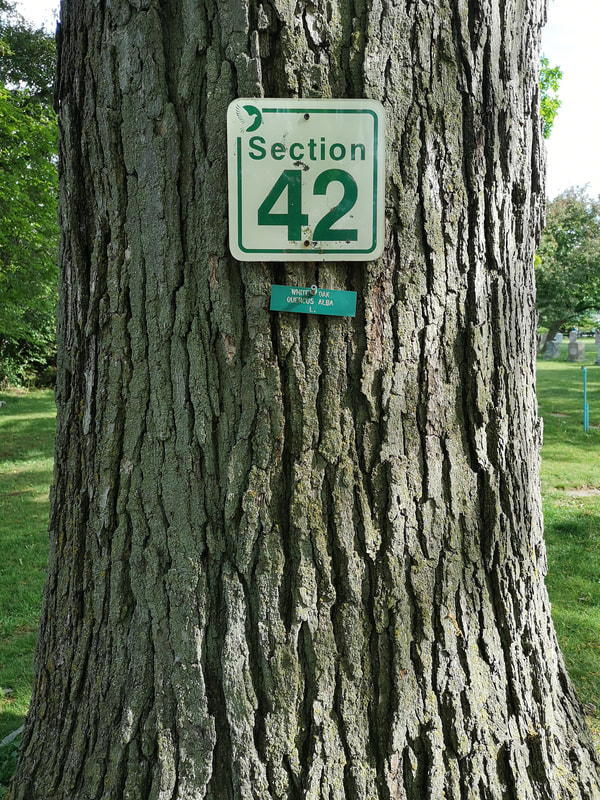
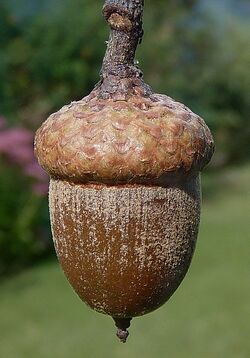
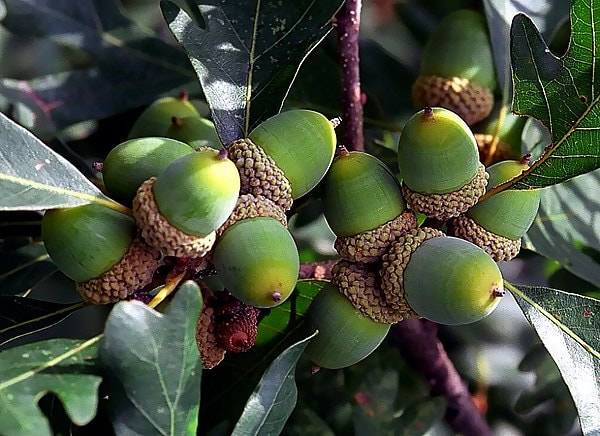
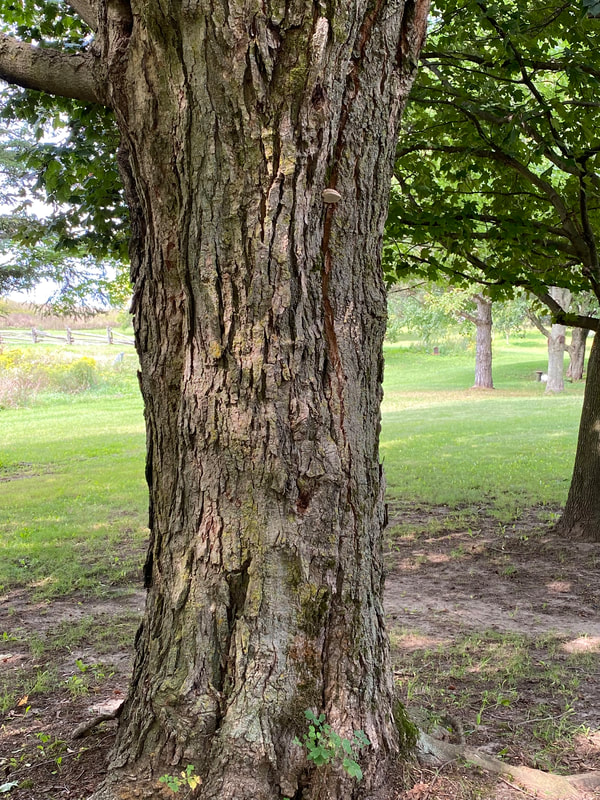
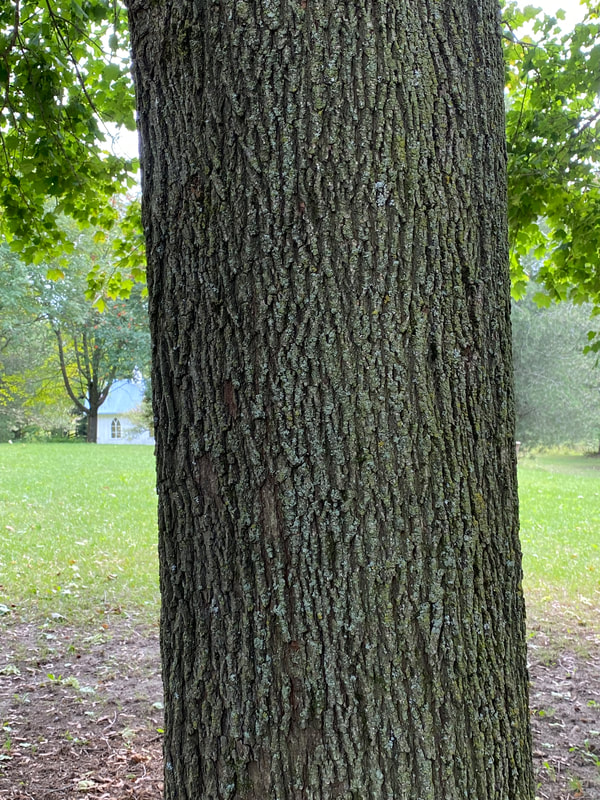
Use the images below to help you identify northern red oaks and white oaks. Hover over or click on an image for identification clues.
Northern Red oak |
|
White oak |
Tech Tip: There are a number of good tree identification apps that you can install onto your cell phone free of charge (for example: PlantNet, Leafsnap, PictureThis or Seek by iNaturalist); these apps allow you to take a photo of tree leaves, bark or flowers and then confirm their identification.
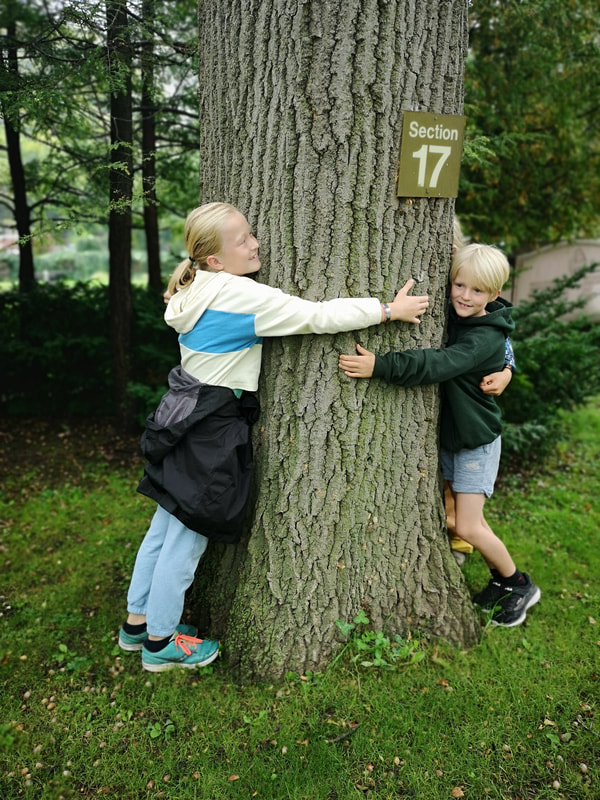
During acorn season (mid-September - early October), use the clues in the above table and/or your tree identification app to help locate a very large mature northern red oak or white oak in your local area that is dropping acorns. Select a tree that is large enough that you cannot completely wrap your arms around the trunk at chest level.
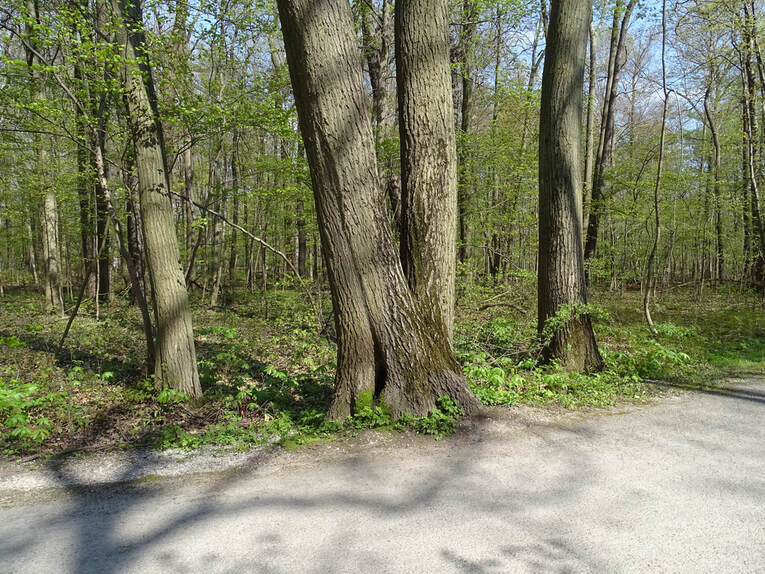
It's best if your tree has family around it - trees that grow near their relatives are healthier and better protected from disease.
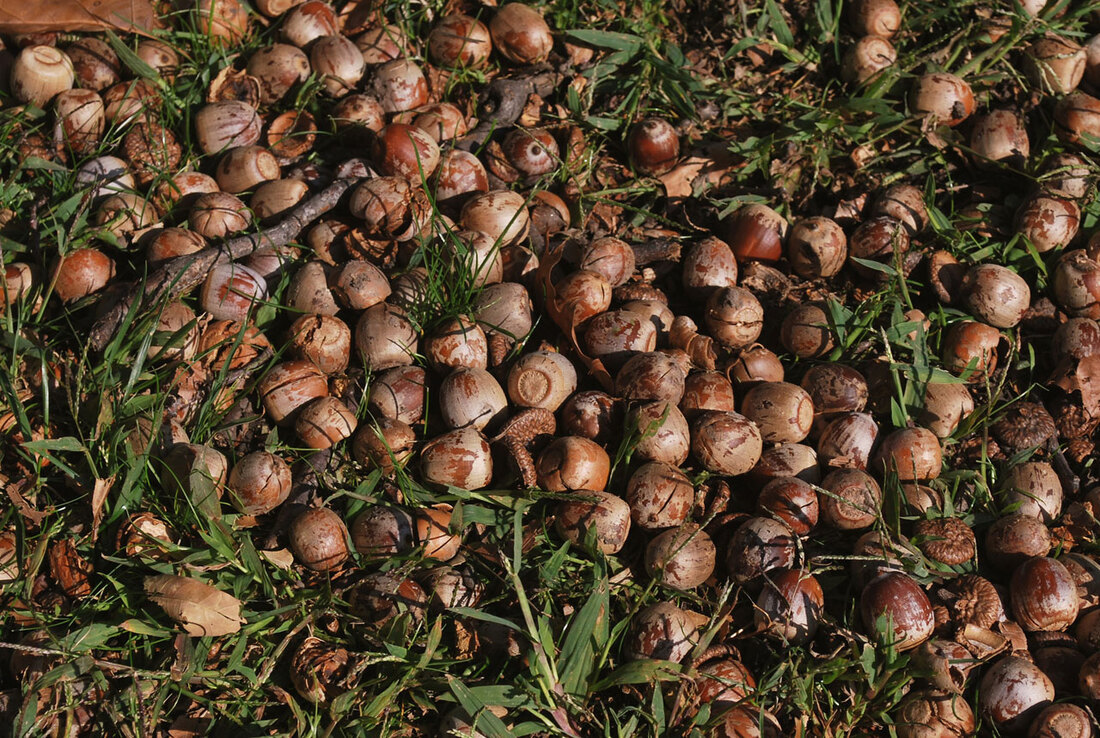
The tree will hopefully have some clusters of acorns visible on the tree branches and a number of acorns sprinkled all around the ground near the base of the tree. You may see acorns on the ground before mid-September, but these acorns are probably not fully ripe. Wait until after the first frost to collect. Once the acorns are ripe, they become a hot commodity, and you will have to compete with other animals to gather them! A good clue that acorns are ready to collect will be the presence of busy squirrels under the tree!
Some species of oak, like the northern red oak, take two years to have their acorns mature. Only the bigger acorns on branches closer to the tree trunk will drop, while the smaller acorns near the younger tips of the branches will need another year to develop before they drop.
Step 2: Recording the source of the acorns
When collecting seeds (and ultimately planting the saplings they produce), it is a good idea to keep a record of important information in the process from start to finish. It's especially important to be able to know which tree your acorns came from (called the "provenance" of the acorns). Click the button below to download our Seed to Sapling Data Record form. You can fill it out in Microsoft Word or print it out.
|
Be a Good Scientist - Record Your Seed to Sapling Data!
|
Once you have located the tree you will be collecting seeds from, make a note of the exact tree location and/or address if the tree is from a residence. Your cell phone may even allow you to record the exact GPS location of the tree. Another way is to go to what3words.com and note down the three unique words where your tree is located. You can share your tree's location data with your teacher or record it on your own Data Record so that people can find the tree in the future.
TIP: What3Words can tell you your GPS coordinates. Click “Share”, “Customize Share Settings”, and turn on “Latitude & Longitude”. Then just copy and paste your 3 words and GPS coordinates!
Step 3: Collect acorns!
Collect 20 - 30 acorns from the ground. Select acorns that are smooth and brown and without their caps. Acorns with caps that are firmly attached are probably not ripe. Check your acorns for holes or cracks - these indicate that an insect has gotten inside. If you can reach any tree branches with either your hand or by using a stick, you can try to knock some acorns off the tree as well and add them to the others you collected off the ground. Be very careful not to injure the tree. Do not break any branches. You can put your acorns into a bag or jar that you bring with you. Don't forget about your container when you're done, your acorns will go bad if you leave them in the sun or in the car for more than a few hours.
Step 4: The float test
This can be done at home or at school (depending on your teacher’s instructions).
Watch the video below to see the acorn float test being performed:
Watch the video below to see the acorn float test being performed:
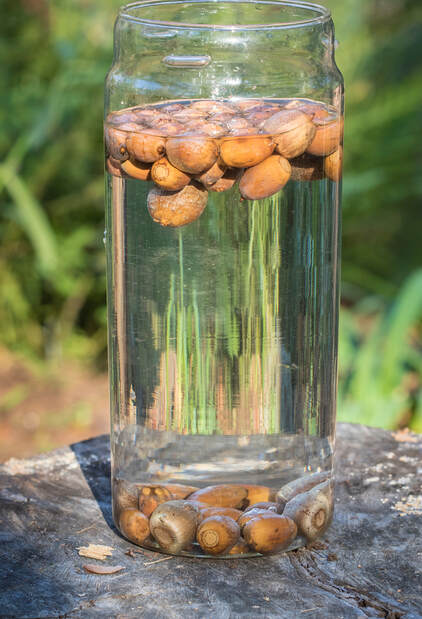
Get a large bowl or jar and fill it up ¾ with water.
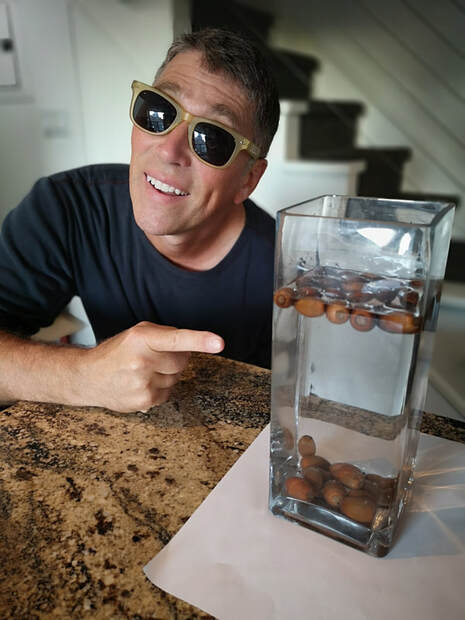
Remove the caps from your acorns, if you haven’t already done so. Place all of your collected acorns into the bowl/jar of water and leave them there for 15 minutes (don’t leave them there longer than this time).
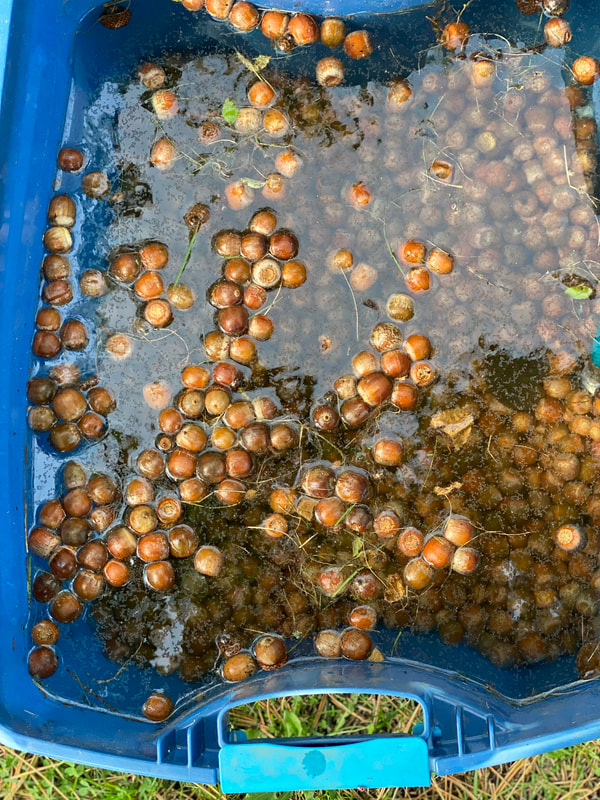
At the end of 15 mins, check and see which acorns have sunk to the bottom of the bowl/jar and which acorns are floating. Healthy acorns will sink in water because they are alive and heavy with moisture. Damaged acorns will usually float because they often have air spaces in them caused by either small insects boring into them, inadequate moisture, or mold and disease. These air spaces will make the acorn less dense than water and will cause it to float on top of the water.
Skim the floating acorns off the top of the water and set them aside. You can then scatter them onto the ground outside for animals and nature to use/decompose.
Collect the acorns that sank to the bottom. Dry them off and set them aside - these are the ones that you want to keep and use for growing! It is not uncommon to have one acorn sink for every 4 - 6 that float! (this is why it was good to collect 20 - 30 acorns initially!) If you have more acorns than you think you will need for your own use, perhaps you can share some with someone who had trouble collecting them!
Collect the acorns that sank to the bottom. Dry them off and set them aside - these are the ones that you want to keep and use for growing! It is not uncommon to have one acorn sink for every 4 - 6 that float! (this is why it was good to collect 20 - 30 acorns initially!) If you have more acorns than you think you will need for your own use, perhaps you can share some with someone who had trouble collecting them!
Make sure to complete the next step before you call it a day - your acorns need to be properly tucked away for winter right after you do your float test!
Step 5: Storing and cooling the acorns for future planting: the "stratification" step
Some oak species, like northern red oaks, need to have their acorns undergo a period of cold temperature before they can germinate and sprout later. This occurs because in nature, it is difficult for an acorn to start developing into a seedling during the winter, with very cold, dry temperatures and less sunlight - leaves for photosynthesis would not be a good idea in this environment! You will therefore need to mimic nature for acorns from northern red oaks by putting them into “cold storage” in a refrigerator for a while first - the scientific name for this cold storage step is “stratification”.
Watch the video below or follow the text instructions to start stratifying:
Watch the video below or follow the text instructions to start stratifying:
Obtain a large plastic Ziplock bag and a folded square of paper towel approximately 15 cm x 10 cm.
Moisten the piece of paper towel so that it is damp but not dripping wet.
Place the damp, square piece of paper towel inside of the Ziplock bag.
Now place the acorns that passed your float test into the bag - they should all be in contact with the piece of moist paper towel. Instead of moist paper towel, you can also stratify your acorns in a mixture of 50% coarse sand and 50% potting soil - two ingredients that are easy to get at stores and are good for both retaining moisture and providing drainage.
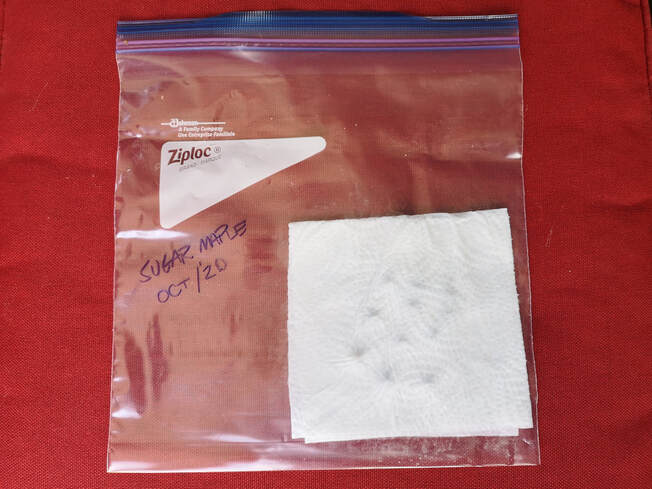
Close the Ziplock bag leaving a slight air pocket in the bag. Use a permanent marker to label the date and type/location of the tree seed on the front of the bag.
Place the Ziplock bag into your refrigerator (ideally in a vegetable crisper).
White oak acorns do not typically require a stratification period, but if you have collected both northern red oak acorns and white oak acorns, you can place both in the fridge and follow the same procedures. That way you can plant them at the same time.
Step 6: Check your acorns
Every 7 - 10 days, do a quick check of your bag of acorns to make sure that they don’t dry out (if the piece of paper towel gets dry, you can add a few drops of water to it again to keep it moist - this is important for the health and survival of the acorns while in the fridge).
Step 7: Time to grow!
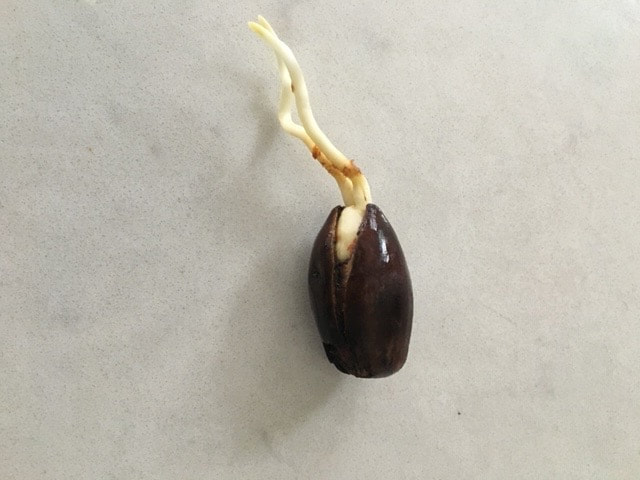
For northern red oak acorns, you will need to keep them in the fridge for a minimum of 90 - 120 days. Remember to check on them every 7 - 10 days. After 3 - 4 months of stratification, the acorns will start to germinate, and you should see a small root emerging from the acorn. When this happens, and the small root is approximately 1 cm in length, you can then go ahead with the planting phase which is described in the “Growing Step by Step” tab of the Student Project section. Click the "Go to Next Step" button below to go to this page now.
You may want to try collecting seeds from other local native trees, especially if it is not a mast year for oaks, and thus acorns are hard to find.
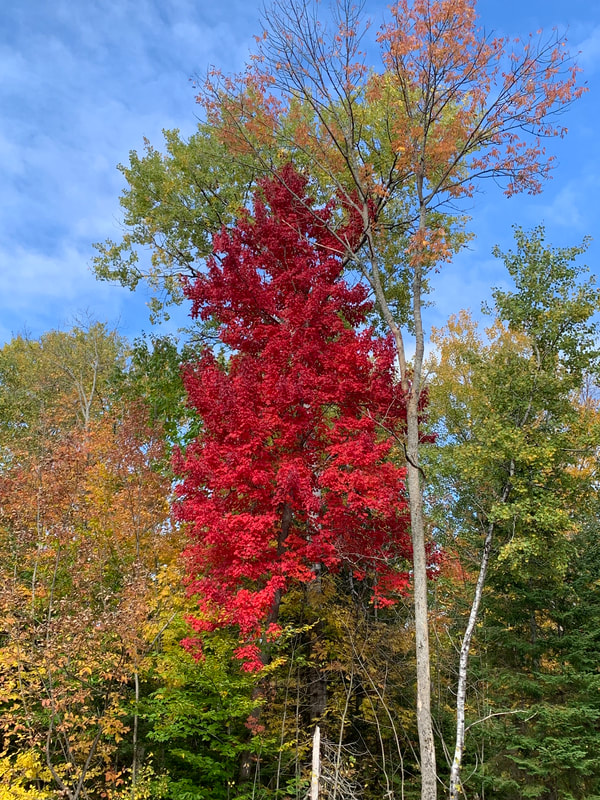
The sugar maple (Acer saccharum) is another beautiful and ecologically important native tree species in Southeastern Canada. Its seeds are both easy to collect and to grow into saplings. Like the northern red oak or white oak, this kind of tree is ideal to grow during the school year because seed collection is also in the fall, and just like the northern red oak, the sugar maple needs a stratification period in the refrigerator.
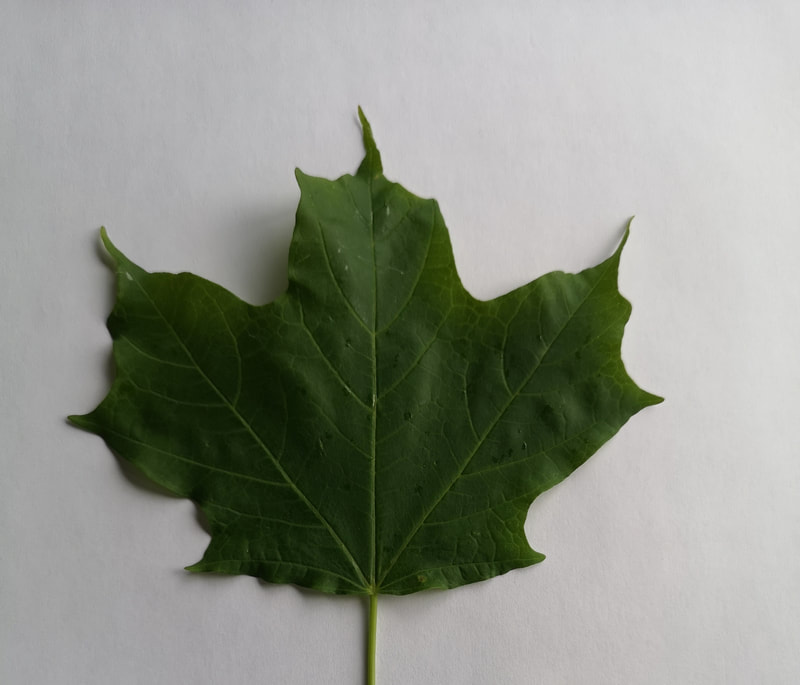
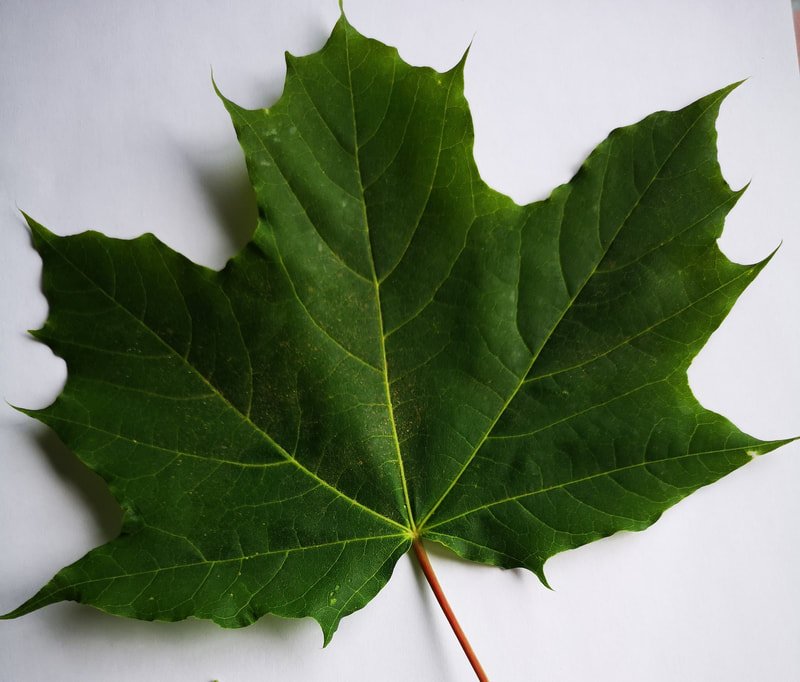
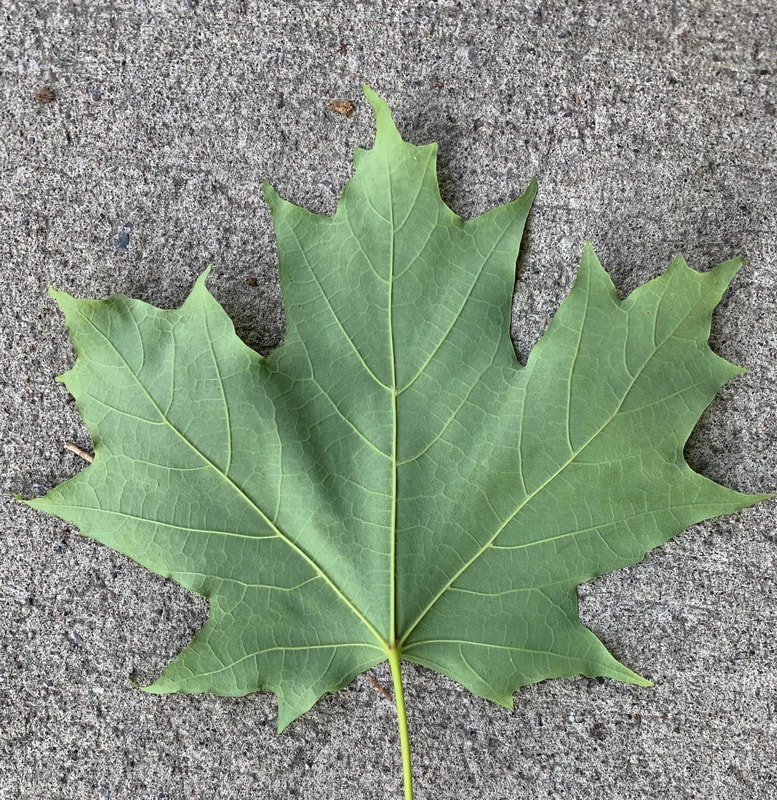
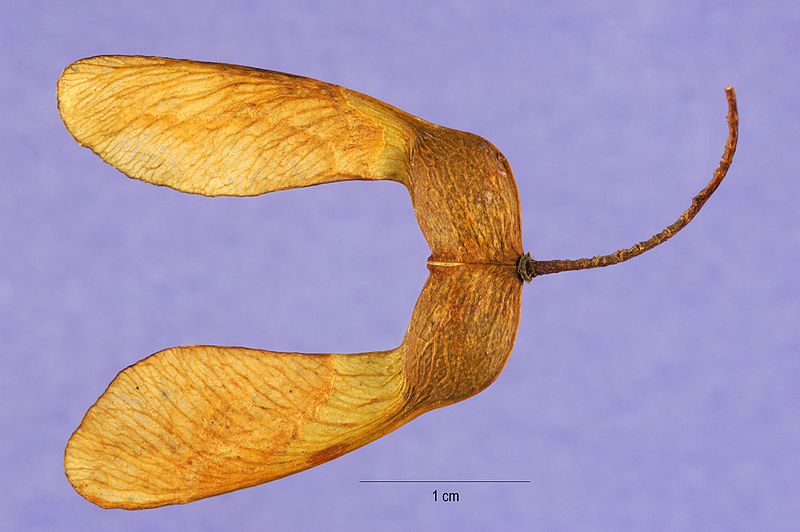
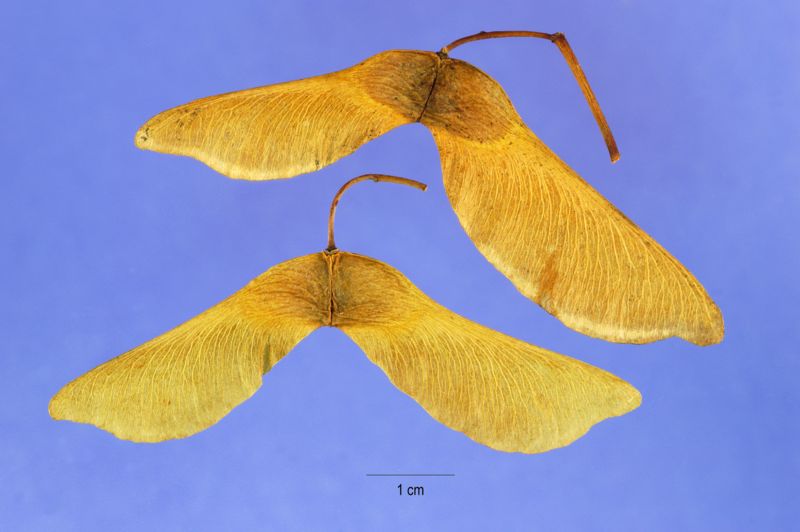
WARNING! You do NOT want to collect maple seeds from a Norway maple (Acer plantanoides), which is a commonly planted invasive species, not native to Canada. The Norway maple does not support a more healthy, biodiverse interaction with native species! To help make sure you collect the seeds from a sugar maple, the table below offers some clues to help you successfully identify this tree:
WARNING! You do NOT want to collect maple seeds from a Norway maple (Acer plantanoides), which is a commonly planted invasive species, not native to Canada. The Norway maple does not support a more healthy, biodiverse interaction with native species! To help make sure you collect the seeds from a sugar maple, the table below offers some clues to help you successfully identify this tree:
Step 1: Identifying a sugar maple tree
Hover over or click on an image for identification clues.
Sugar Maple |
|
Norway MapleDo NOT collect these seeds!
|
Step 2: Record tree location
Make a note of the tree location (GPS and/or street address) to record the "mother tree provenance" of the seeds you are collecting. You can record this information on the Seed to Sapling Data Record form by clicking the button below.
Step 3: Get the Keys
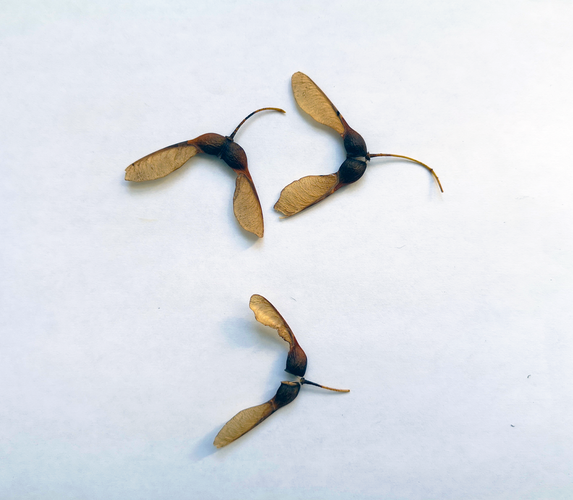
In late September to early October, go out and pick up 20 keys from the ground that have seeds contained within. Try to select seeds from keys that look yellowish brown with seeds a dark rusty brown colour (as opposed to green). Check carefully to make sure that the seed part of the key is intact - animals will often take them out of the key to eat! Put the keys into a small collection bag or jar and bring them home. (If the seeds are still a little green, you can put them into a paper bag for a few days and they should turn a brown colour, which is ideal).
Step 4: Remove the Wings
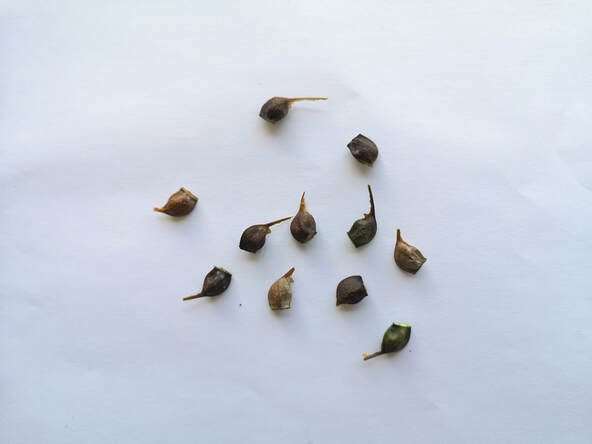
When you get home, you can remove the thin papery wing part attached to each seed. Watch the video below to see how it's done:
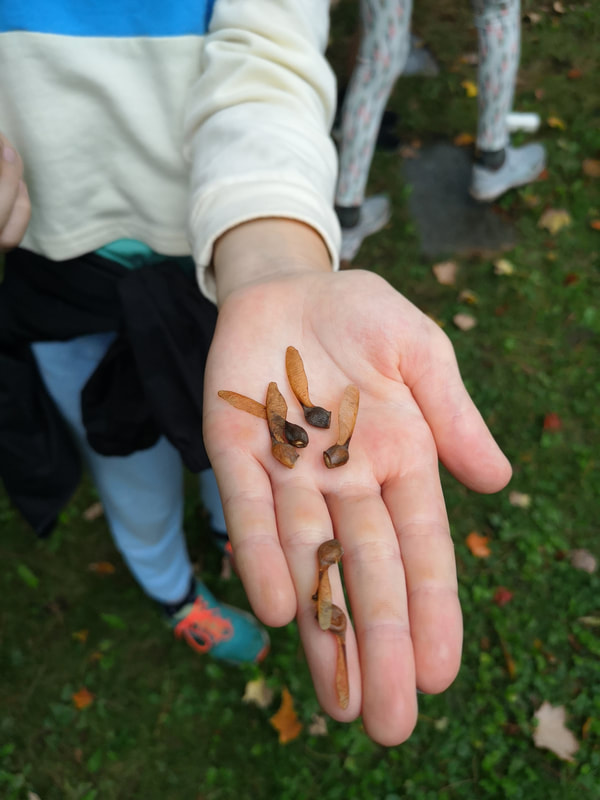
Once you remove the wings, the seed that you want to keep should look like this:
Step 5: Get Water
Fill up a cup with water (either rainwater or tap water that has been sitting for 24 hours is ideal).
Step 6: Soak Seeds
Place the sugar maple seeds into the cup of water and leave them in the water for 24 hours to absorb moisture.
Step 7: Remove Seeds from Water
After 24 hours of soaking, take the seeds out of the water and set them aside. Take a Ziplock bag and a piece of paper towel. Moisten the piece of paper towel (don’t completely soak the paper towel - just make sure it is moist throughout).
Step 8: Ziplock
Place the piece of moist paper towel into the Ziplock bag, then put the sugar maple seeds into the bag so that each seed is enveloped by the moist paper towel (by folding the moistened towel over the seeds). Close the Ziplock bag with the seeds and paper towel inside leaving some air in the bag. With a marker, label the date on the Ziplock bag and write “Sugar maple seeds” and indicate the location of the mother tree on the front.
Instead of paper towel, you can use a 50:50 mix of sand and potting
soil.
Instead of paper towel, you can use a 50:50 mix of sand and potting
soil.
Step 9: Stratification Time
Place the Ziplock bag with seeds inside into the fridge (ideally, in the vegetable crisper). You must leave them in the fridge for 90 - 120 days of “stratification” time. Check the bag every 7 - 10 days to make sure that the bag has some moisture - if not, add a few drops of water to the paper towel to remoisten it.
After the stratification period, you will take out the seeds and plant them in soil. Click the button below to go to the “Growing Step by Step” instructions.
After the stratification period, you will take out the seeds and plant them in soil. Click the button below to go to the “Growing Step by Step” instructions.

